Ultrasound · Hand
Trigger Finger (A1 Pulley) Injection
handtrigger fingera1 pulleyflexor tendon
Treats
- Trigger finger (stenosing tenosynovitis)
- Tendon locking/catching
Contraindications
- Active local skin infection at entry site (absolute)
- Suspected septic tenosynovitis (absolute)
- Known allergy to local anesthetic, steroid, or antiseptic prep
- Therapeutic anticoagulation — review case-by-case
- Diabetics — relative; counsel about reduced response rate (~50% vs 80%)
Pre-procedure checklist
- Confirm patient identity (two identifiers)
- Confirm procedure, side, and site — mark with patient awake
- Review allergies and anticoagulation
- Confirm informed consent
- Pre-scan: identify FDS/FDP, A1 pulley, dynamic triggering, digital NV bundles on radial and ulnar sides
- Time-out immediately before needle entry
Positioning
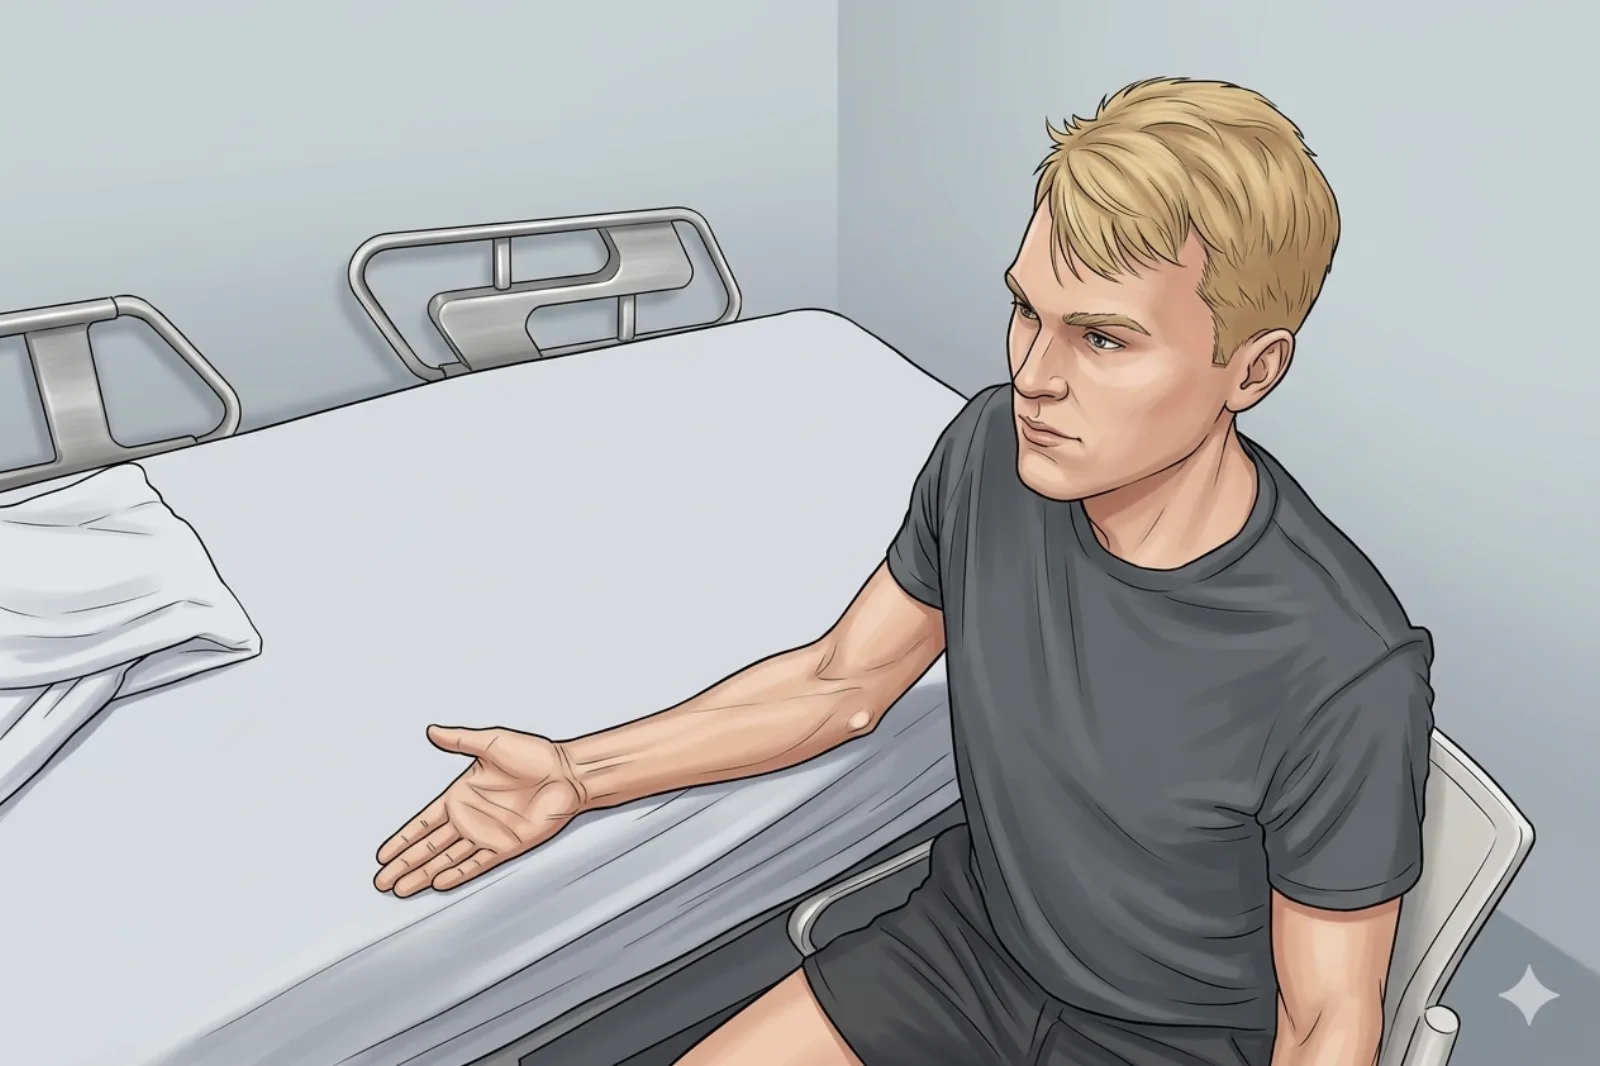
- Hand supinated; arm on table; fingers extended
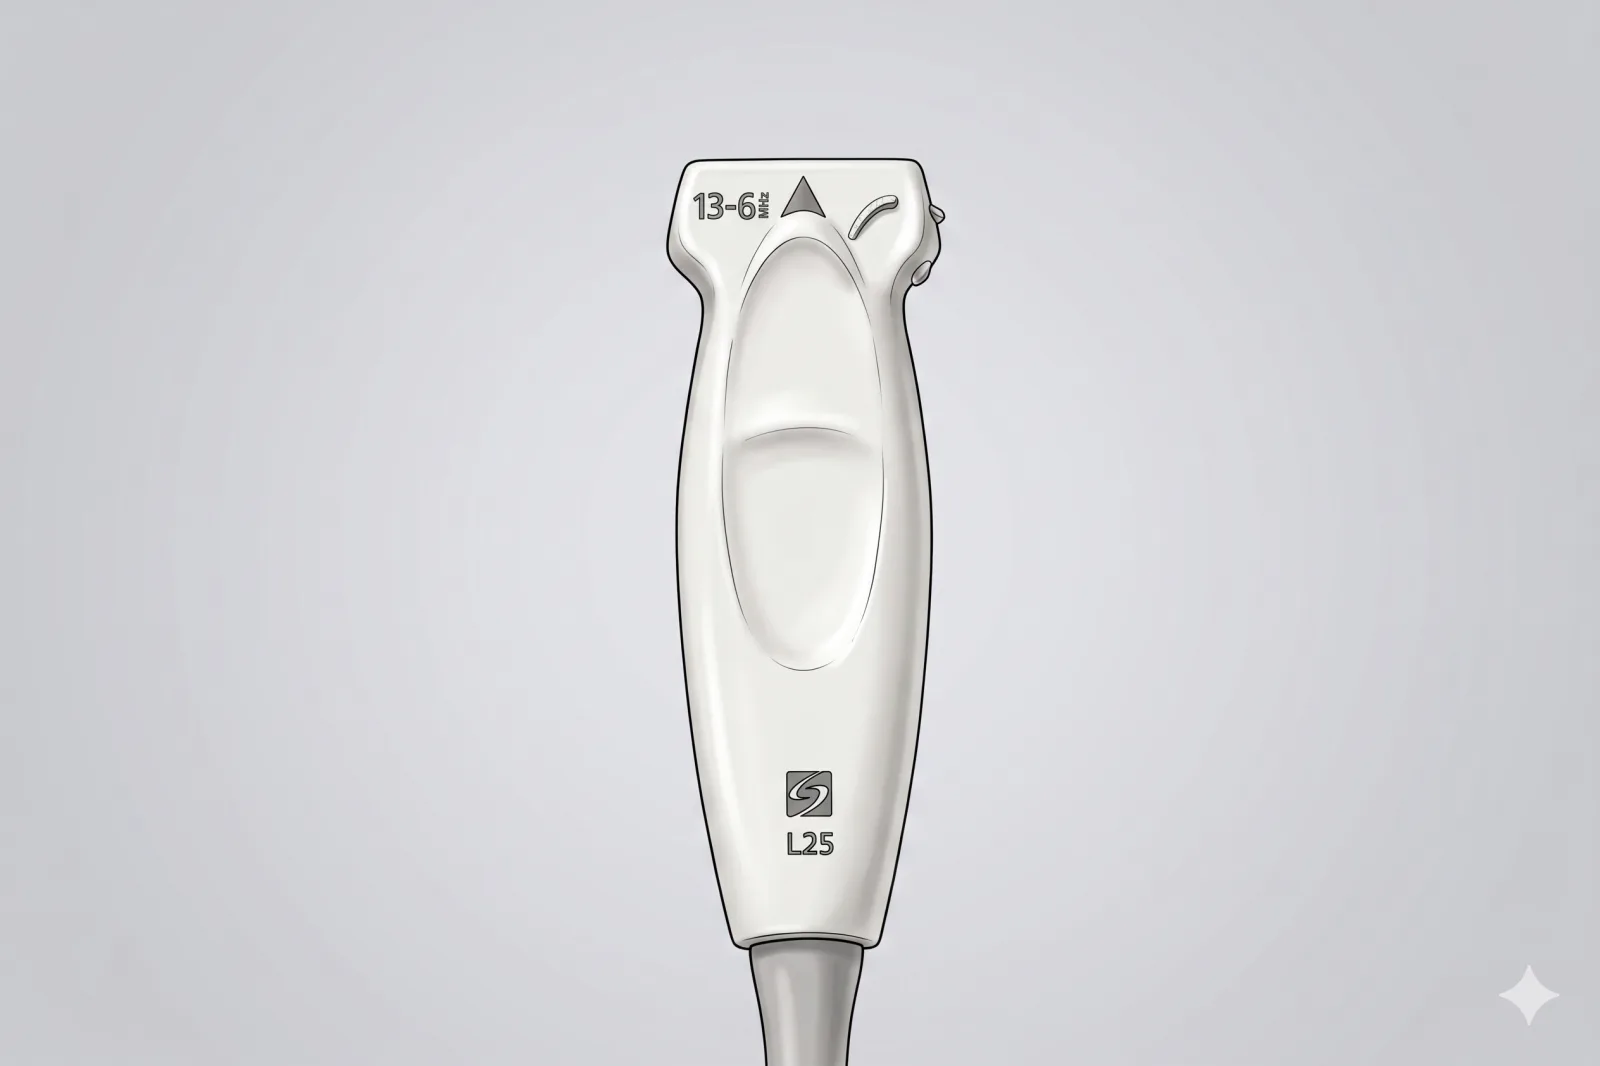
Probe
- High-frequency linear probe (6-13 MHz) (short footprint ideal)
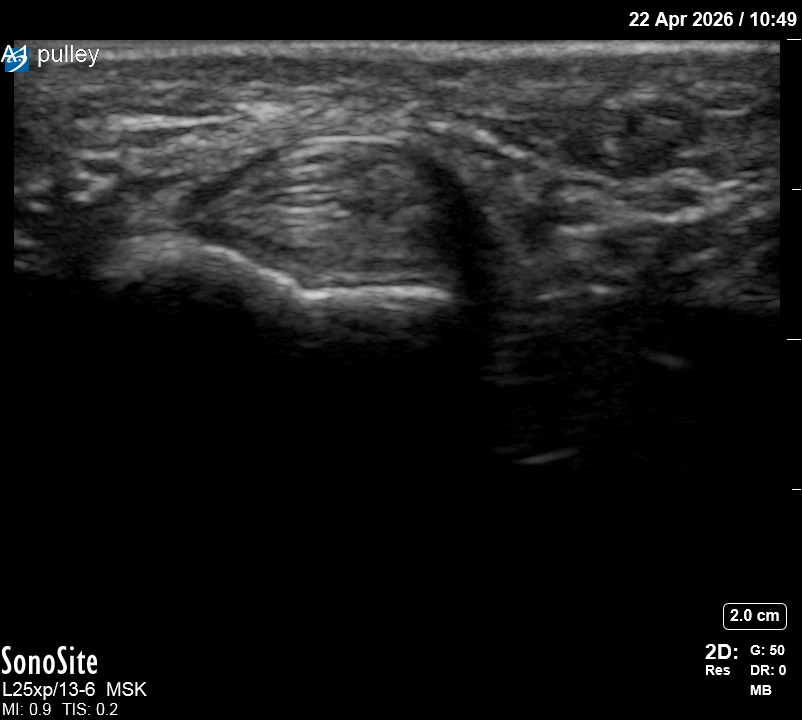
Landmarking — find the view
- Short-axis over the MCP head to identify the FDS/FDP tendons.
- The A1 pulley is the thickened hyperechoic band just superficial to the tendons.
- Use dynamic flexion/extension to witness 'triggering' and tendon nodularity.
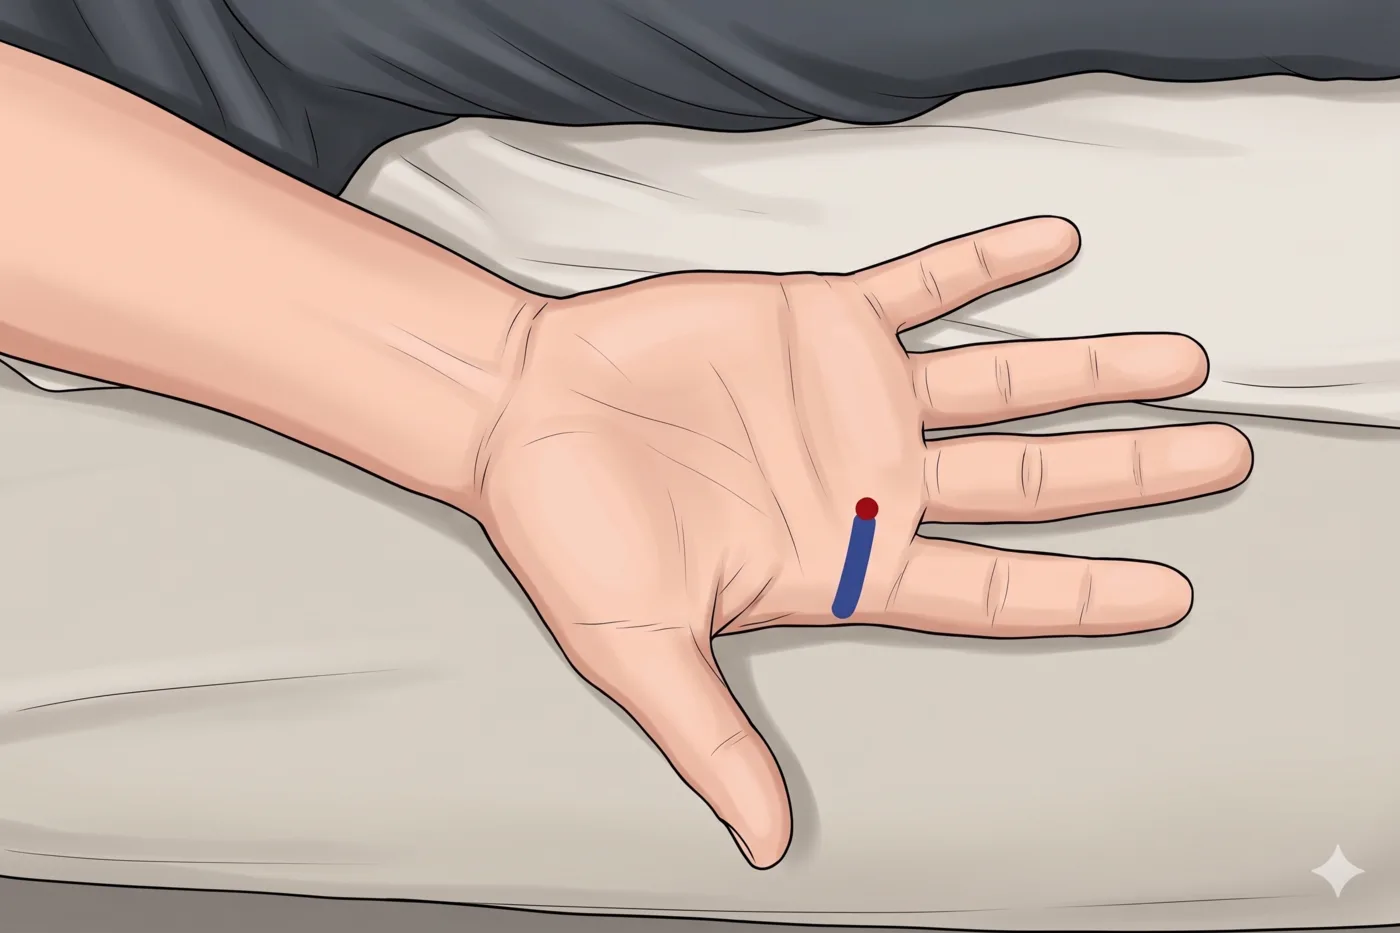
- Map digital NV bundles on radial and ulnar sides of the tendon.
The correct ultrasound view
- Thickened A1 pulley centered over the round flexor tendons in short-axis.
Needle corridor
- Short-axis in-plane from the radial OR ulnar side (whichever has a clearer window away from the digital neurovascular bundle), targeting the space between the A1 pulley and the flexor tendons. Avoid a perpendicular volar approach.
Avoid
- Digital nerves/arteries on radial and ulnar sides of the tendon (end-artery territory)
- Intratendinous injection
- Perpendicular volar approach
Steps
- 1Advance in-plane in short-axis from the radial or ulnar side, whichever side has a clearer window.
- 2Direct the needle between the pulley and the tendon.
- 3Inject 0.5-1 mL total; stop at the first sign of sheath distension or back-pressure.
- 4STOP IMMEDIATELY if the patient reports electric, shooting, or paresthetic sensations into the finger.
Tips
- If you meet resistance, you are likely in the tendon — re-position.
- Apply ethyl chloride spray (if used) BEFORE chlorhexidine prep; never over a sterile field.
- Limit to ≤ 3 injections per finger per year.
Resident pearls
- Dynamic visualization is diagnostic: look for disconjugate tendon motion or nodule catching.
- Injecting the synovial sheath is the goal; the steroid will track to the pulley.
- Trigger finger is 4-5× more common in diabetics; injection success is ~50% vs 80% in non-diabetics. Discuss realistic expectations and earlier referral for A1 release if injection fails.
- Digital arteries are end-arteries — particulate steroid carries a small reported risk of digital ischemia/necrosis. Dexamethasone preferred.
Supplies
- 3 mL Syringe
- 27G 0.5" Needle (use ≥ 25G if injecting triamcinolone)
- 18G Drawing Needle
- 1% Lidocaine (0.3-0.5 mL)
- Dexamethasone 4 mg (PREFERRED — non-particulate, avoids digital artery embolization in end-artery territory) OR triamcinolone 10-20 mg
- Alcohol Swabs (vial tops)
- Betadine/Chloraprep
- Sterile Gloves
- Ethyl Chloride spray (optional topical analgesic — apply BEFORE chlorhexidine prep; never over a sterile field)
- Sterile 4x4 Gauze Pads
- Sterile Towels & Drapes
- Adhesive Bandage (Band-Aid)
- Washcloth/Towel (gel cleanup)
- Needle Disposal Safety Cap
- Sterile probe cover & gel
Post-procedure
- Apply a clean dressing; remove after 24 hours.
- Local anesthetic relief for 1-4 hours; steroid begins 24-72 hours.
- Steroid 'flare' in 2–10% — manage with ice and acetaminophen.
- Rest the finger 24-48 hours.
- Return immediately for: spreading redness, swelling, fever, disproportionate pain, OR finger color change or coolness (concern for vascular compromise).
- Diabetics: expect 50-100 mg/dL glucose rise for 3-5 days; success rate is lower (~50%) — discuss surgical release if injection fails.
- Maximum 3 injections per finger per year.