Ultrasound · Shoulder
Glenohumeral Joint Injection (Posterior Approach)
shoulderglenohumeralposteriorlabrumcapsuleadhesive capsulitis
Treats
- Adhesive capsulitis
- Glenohumeral osteoarthritis/synovitis
- Diagnostic intra-articular anesthesia
Contraindications
- Active local skin infection or cellulitis at the entry site (absolute)
- Suspected septic joint (absolute — aspirate first, do not inject steroid)
- Bacteremia (absolute for joint injection)
- Known allergy to local anesthetic, steroid, or antiseptic prep (absolute for that agent)
- Therapeutic anticoagulation — review case-by-case
- Uncontrolled diabetes (relative)
- Prosthetic shoulder at the target site (relative — coordinate with orthopedics)
Pre-procedure checklist
- Confirm patient identity (two identifiers)
- Confirm procedure, side, and site — mark site with patient awake
- Review allergies
- Review anticoagulation status
- Confirm informed consent
- Pre-scan to confirm capsule depth — if > 3 cm, use 22G 3.5" spinal needle
- Time-out immediately before needle entry
Positioning
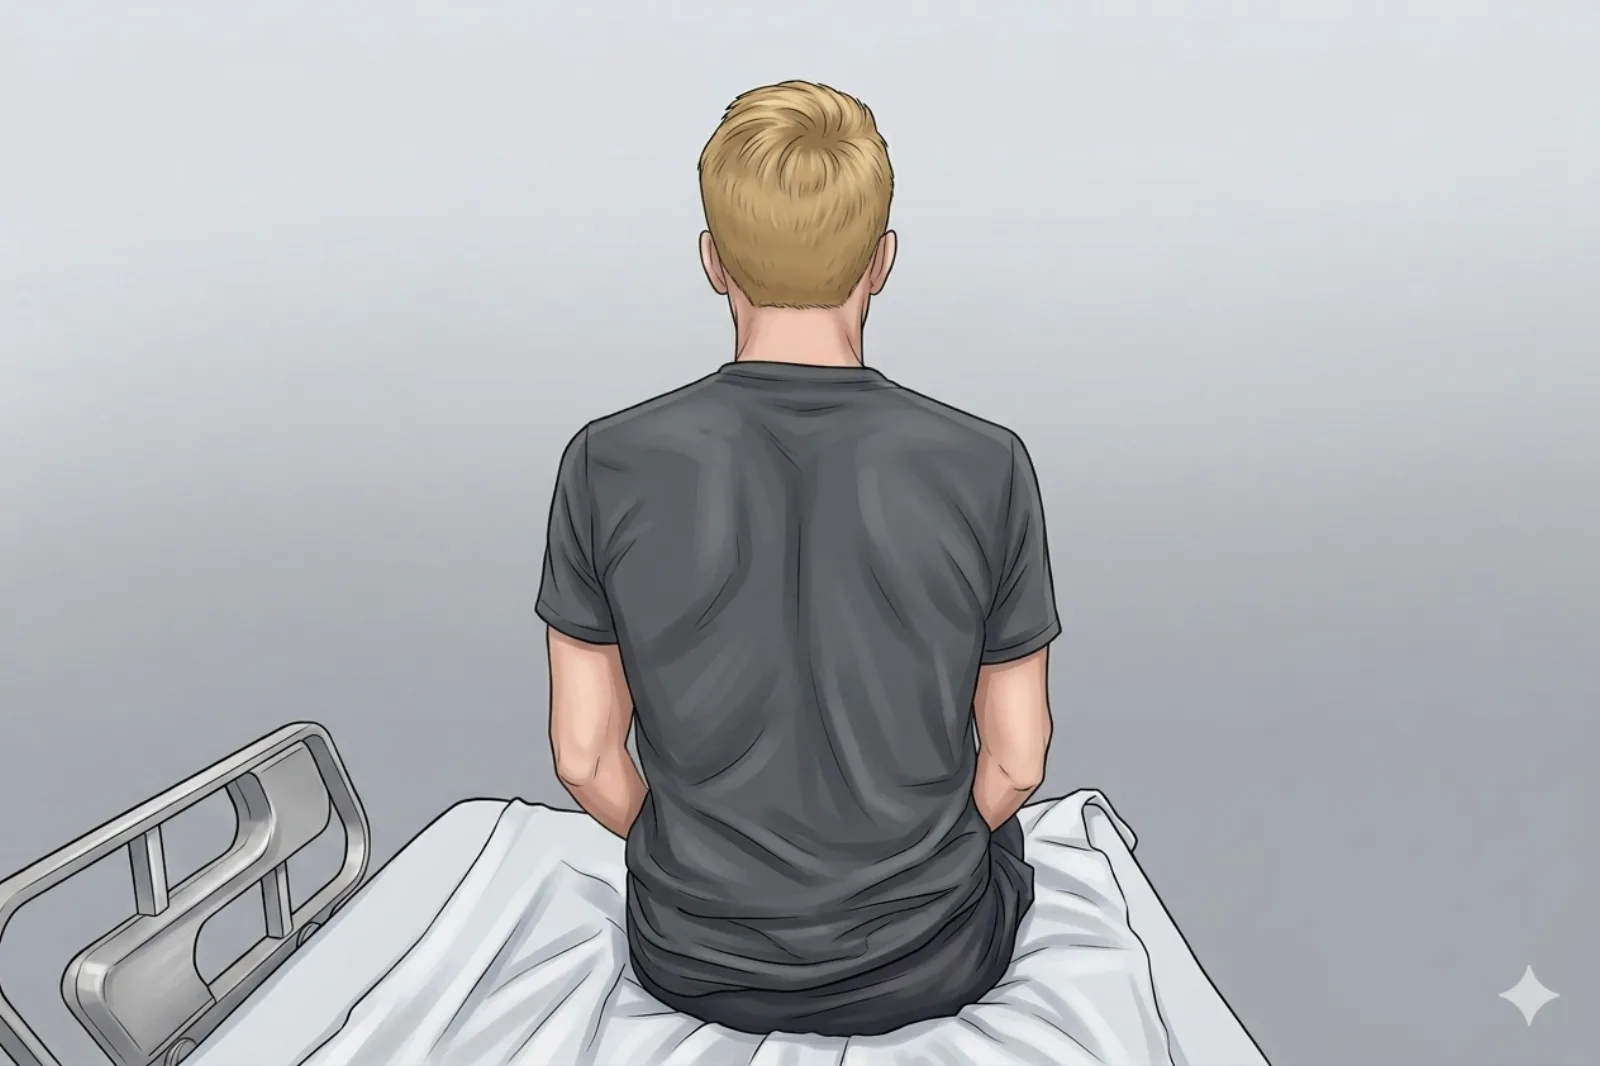
- Patient seated; arm adducted and resting across the lap or on the thigh
- Slight internal rotation opens the posterior joint recess
Probe
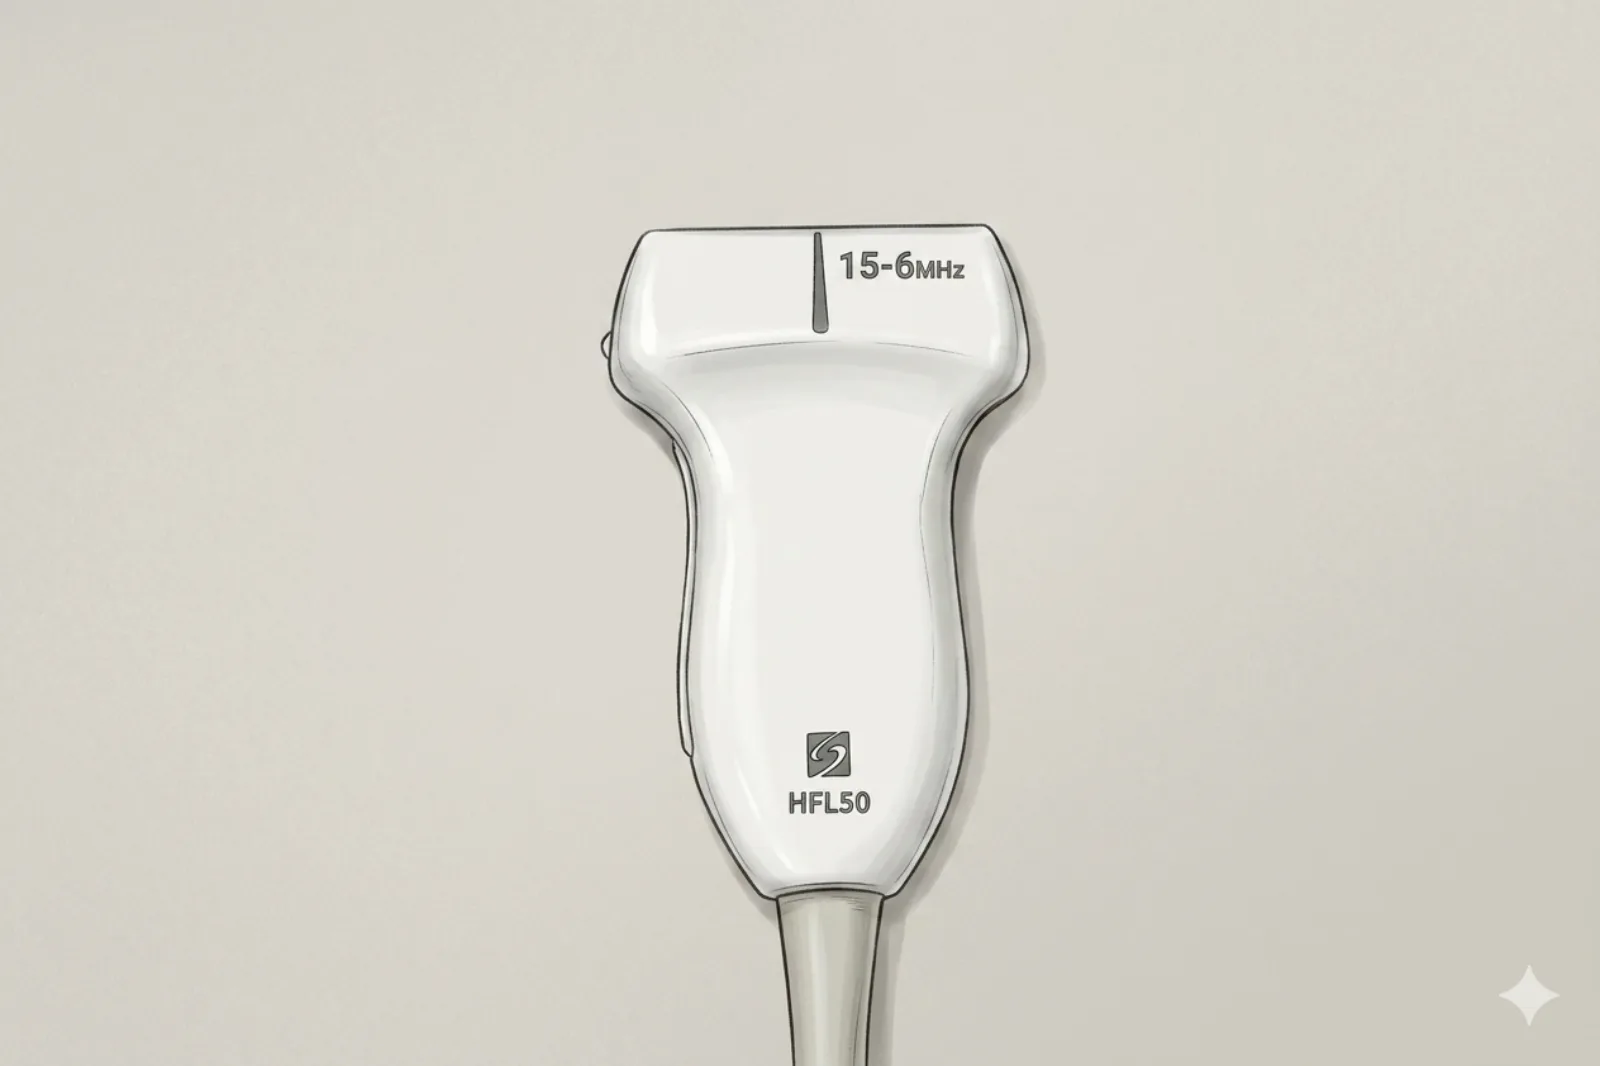
- High-frequency linear probe (6–9 MHz) for most adults (posterior GH joint typically 3–5 cm deep). Use 9–15 MHz for very lean patients. Switch to curvilinear (5–8 MHz) only if joint depth exceeds linear probe penetration (e.g., high BMI patients).
Landmarking — find the view
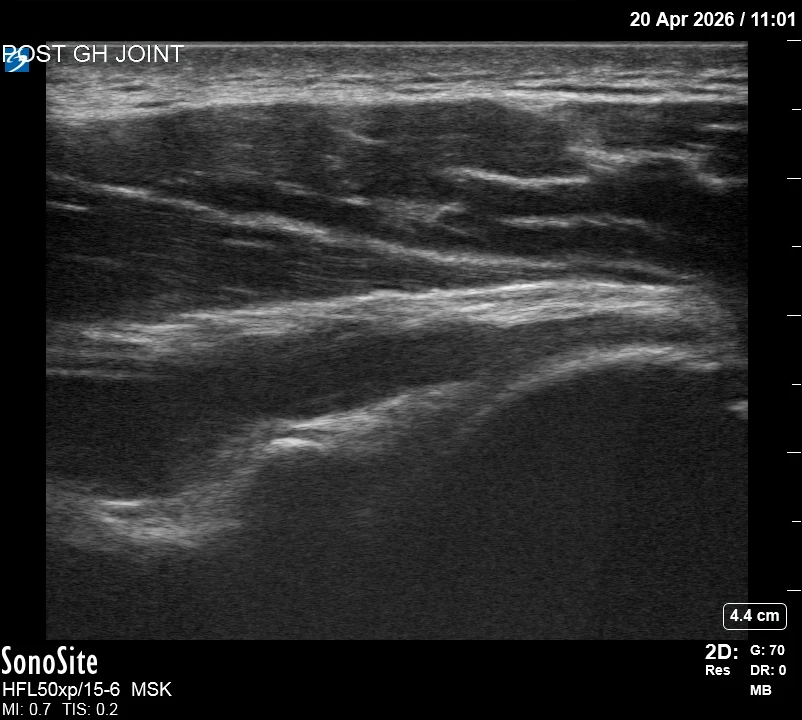
- Visual Cue: The "Wine Glass" — the humeral head sits in the cup; the glenoid/labrum form the rim/stem.
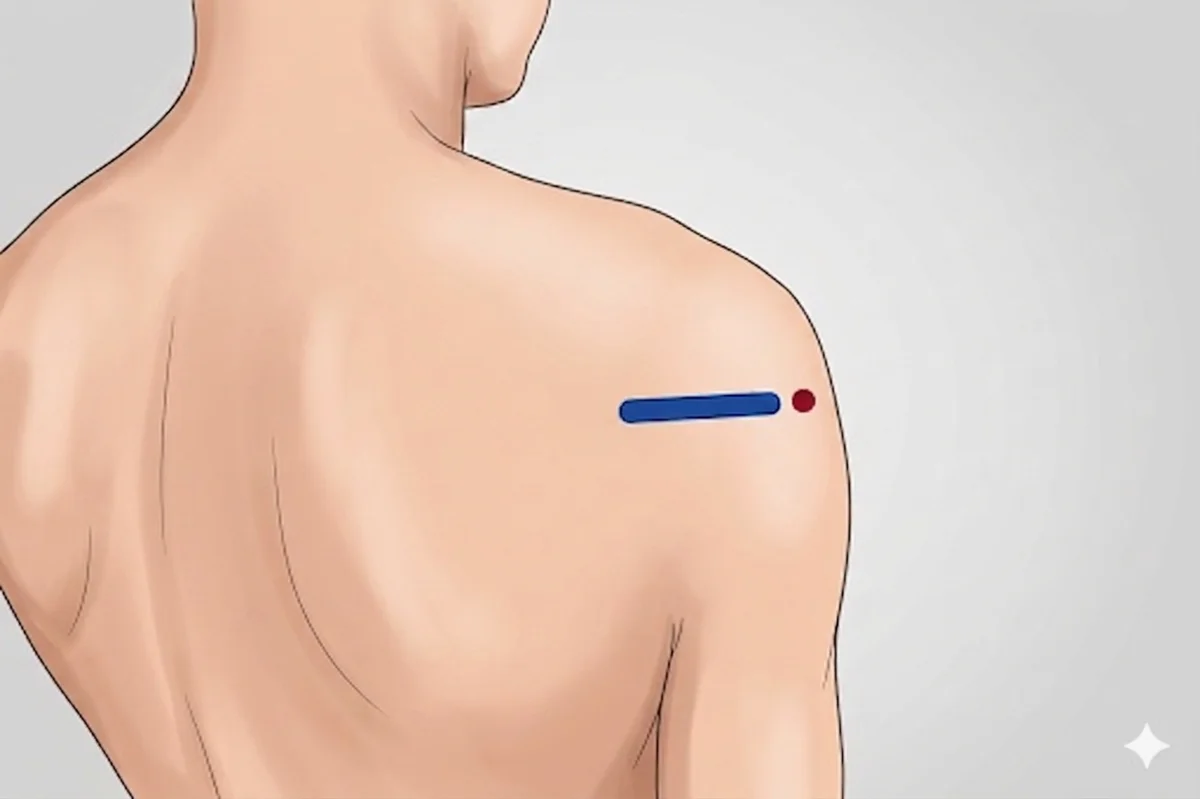
- Start on the scapular spine and slide LATERALLY along its inferior edge to position the probe over the infraspinatus muscle belly overlying the humeral head.
- Slide laterally until the round humeral head meets the triangular labrum.
- Tilt the probe ("fan") to open the thin dark joint space between cartilage and capsule.
The correct ultrasound view
- Humeral head in lower third; glenoid rim medially; continuous dark intra-articular line
Needle corridor
- Through the infraspinatus muscle → posterior glenohumeral joint recess (intra-articular), with the needle tip at the junction of the humeral head cartilage and posterior labrum, deep to the posterior capsule.
Avoid
- Axillary nerve — exits the quadrilateral space ~2 cm inferior to the posterior joint line and runs deep to the posterior capsule. Keep needle entry at or above the joint line and use a steep superior trajectory; overpenetration through the joint directs the tip toward articular cartilage.
- Intralabral needle placement
- Suprascapular nerve and artery at the spinoglenoid notch — at risk if the probe or needle drifts medial past the glenoid rim; keep the target at the joint line.
Steps
- 1Advance in-plane from posterolateral → anteromedial at a steep angle.
- 2Contact capsule and inject a test bolus to confirm capsular lift.
- 3Inject the planned volume slowly; gently rotate the shoulder to confirm intra-articular spread.
- 4STOP IMMEDIATELY if the patient reports electric, shooting, or paresthetic sensations — withdraw 1-2 mm and reposition before further injection.
Tips
- Steeper angles are easier to correct than shallow ones.
- Limit corticosteroid injection to ≤ 3 per joint per year.
- If pre-scan shows an artery directly in the planned needle path, abandon and re-plan.
Resident pearls
- Steeper is better: it is easier to shallow out an angle than to correct one that is too medial.
- The needle naturally pulls medially as it passes the capsule — anticipate this.
- Perform internal/external rotation post-injection to confirm the iatrogenic effusion is intra-articular.
Supplies
- 10 mL Syringe
- 22G 3.5" Spinal Needle (default for most adults; 1.5" only if pre-scan confirms capsule depth < 3 cm)
- 18G Drawing Needle
- 1% Lidocaine (5-10 mL)
- Triamcinolone 40 mg OR Dexamethasone 4-10 mg
- Alcohol Swabs (vial tops)
- Betadine/Chloraprep
- Sterile Gloves
- Sterile 4x4 Gauze Pads
- Sterile Towels & Drapes
- Adhesive Bandage (Band-Aid)
- Washcloth/Towel (gel cleanup)
- Needle Disposal Safety Cap
- Sterile probe cover & gel
Post-procedure
- Apply a clean dressing; remove after 24 hours.
- Local anesthetic provides relief for 1-4 hours; pain may return before steroid takes effect.
- Steroid effect typically begins 24-72 hours after injection.
- Steroid 'flare' (transient worsening for 24-48 hours) occurs in 2–10% — manage with ice and acetaminophen.
- Rest the shoulder for 24-48 hours; resume normal activity as tolerated thereafter.
- Return immediately for: spreading redness, increasing swelling, fever, or pain disproportionate to expected.
- Diabetics: expect a glucose rise of 50-100 mg/dL for 3-5 days.
- Maximum frequency: typically no more than 3 injections per joint per year.