Ultrasound · Hip
Sacroiliac (SI) Joint Injection
hipsi jointsacroiliaclow back paindiagnostic injection
Treats
- Suspected SIJ-mediated pain (single intra-articular block is one of several diagnostic tools — fluoroscopic confirmation with contrast remains more rigorous than US for true intra-articular placement)
- Therapeutic injection after failed conservative care
Contraindications
- Active local skin infection at entry site (absolute)
- Known allergy to local anesthetic, steroid, or antiseptic prep
- Therapeutic anticoagulation — review case-by-case
- Uncontrolled diabetes (relative)
- Active sacroiliitis from inflammatory arthropathy in flare (relative — coordinate with rheumatology)
Pre-procedure checklist
- Confirm patient identity (two identifiers)
- Confirm procedure, side, and site — mark with patient awake
- Review allergies and anticoagulation
- Confirm informed consent
- Pre-scan: identify the synovial portion in the inferior third (S2-S3) and the dorsal sacral foramina to avoid
- Time-out immediately before needle entry
Positioning
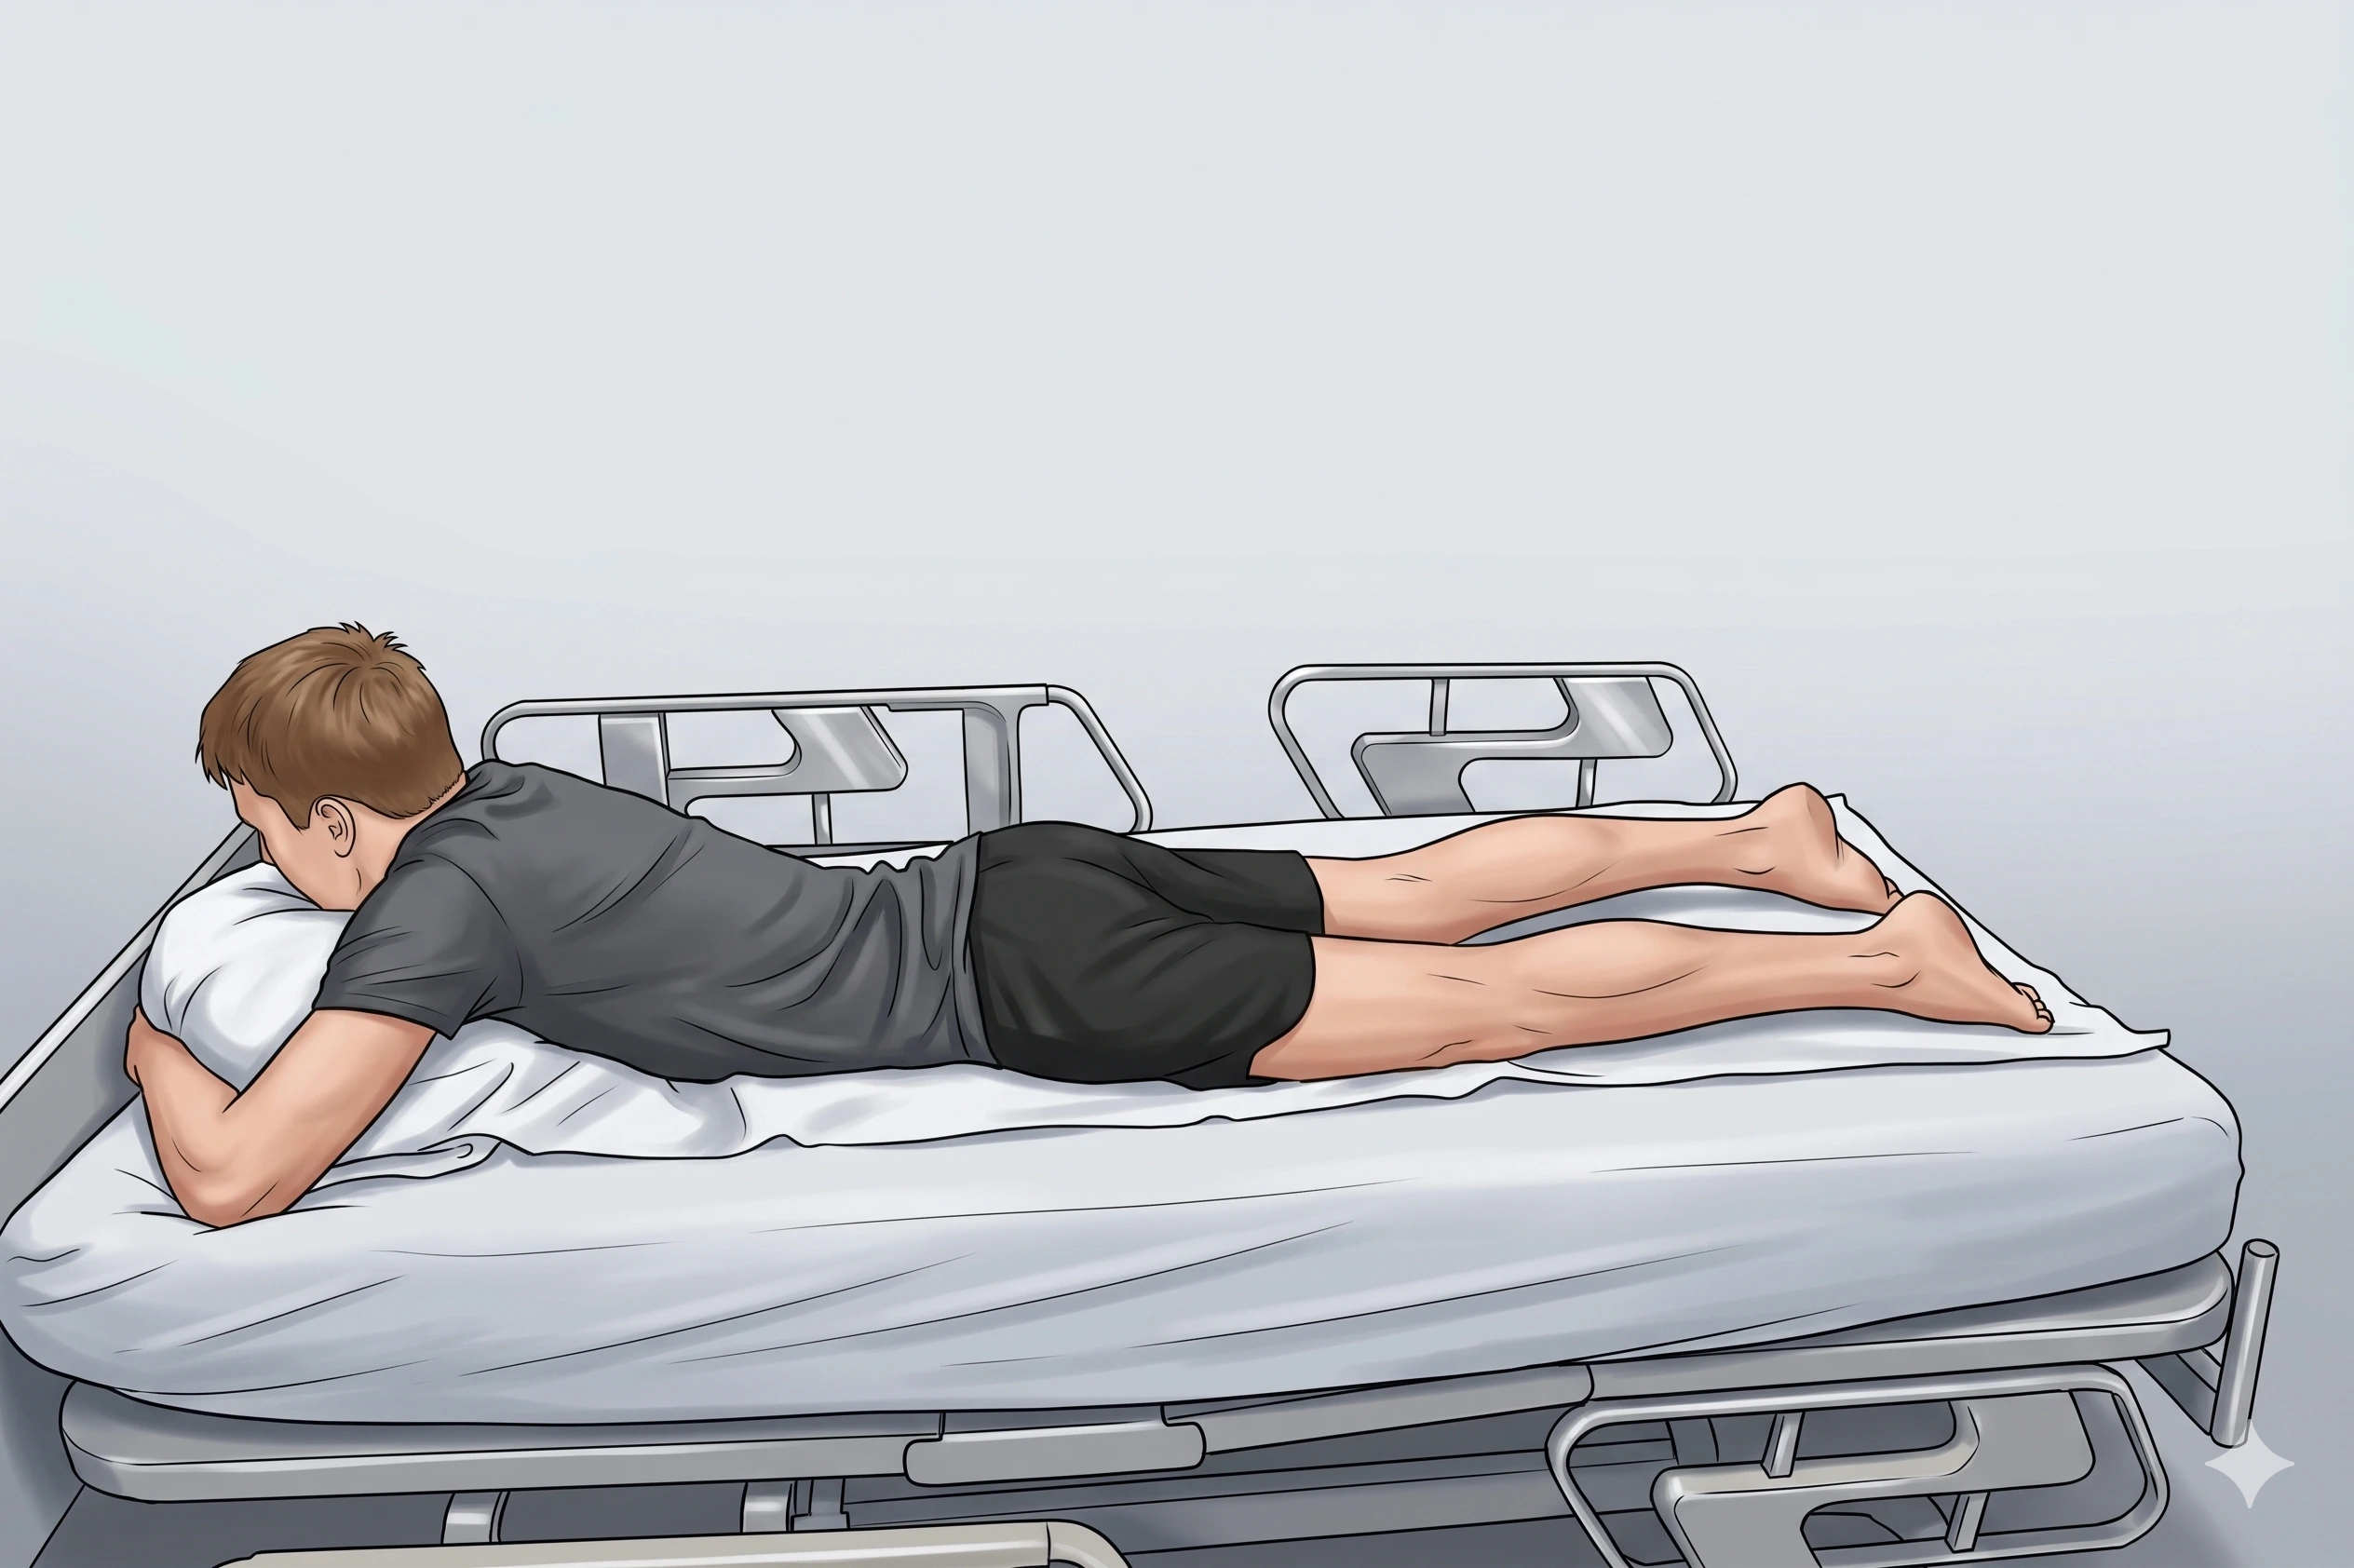
- Prone; pillow under abdomen to minimize lumbar lordosis
Probe
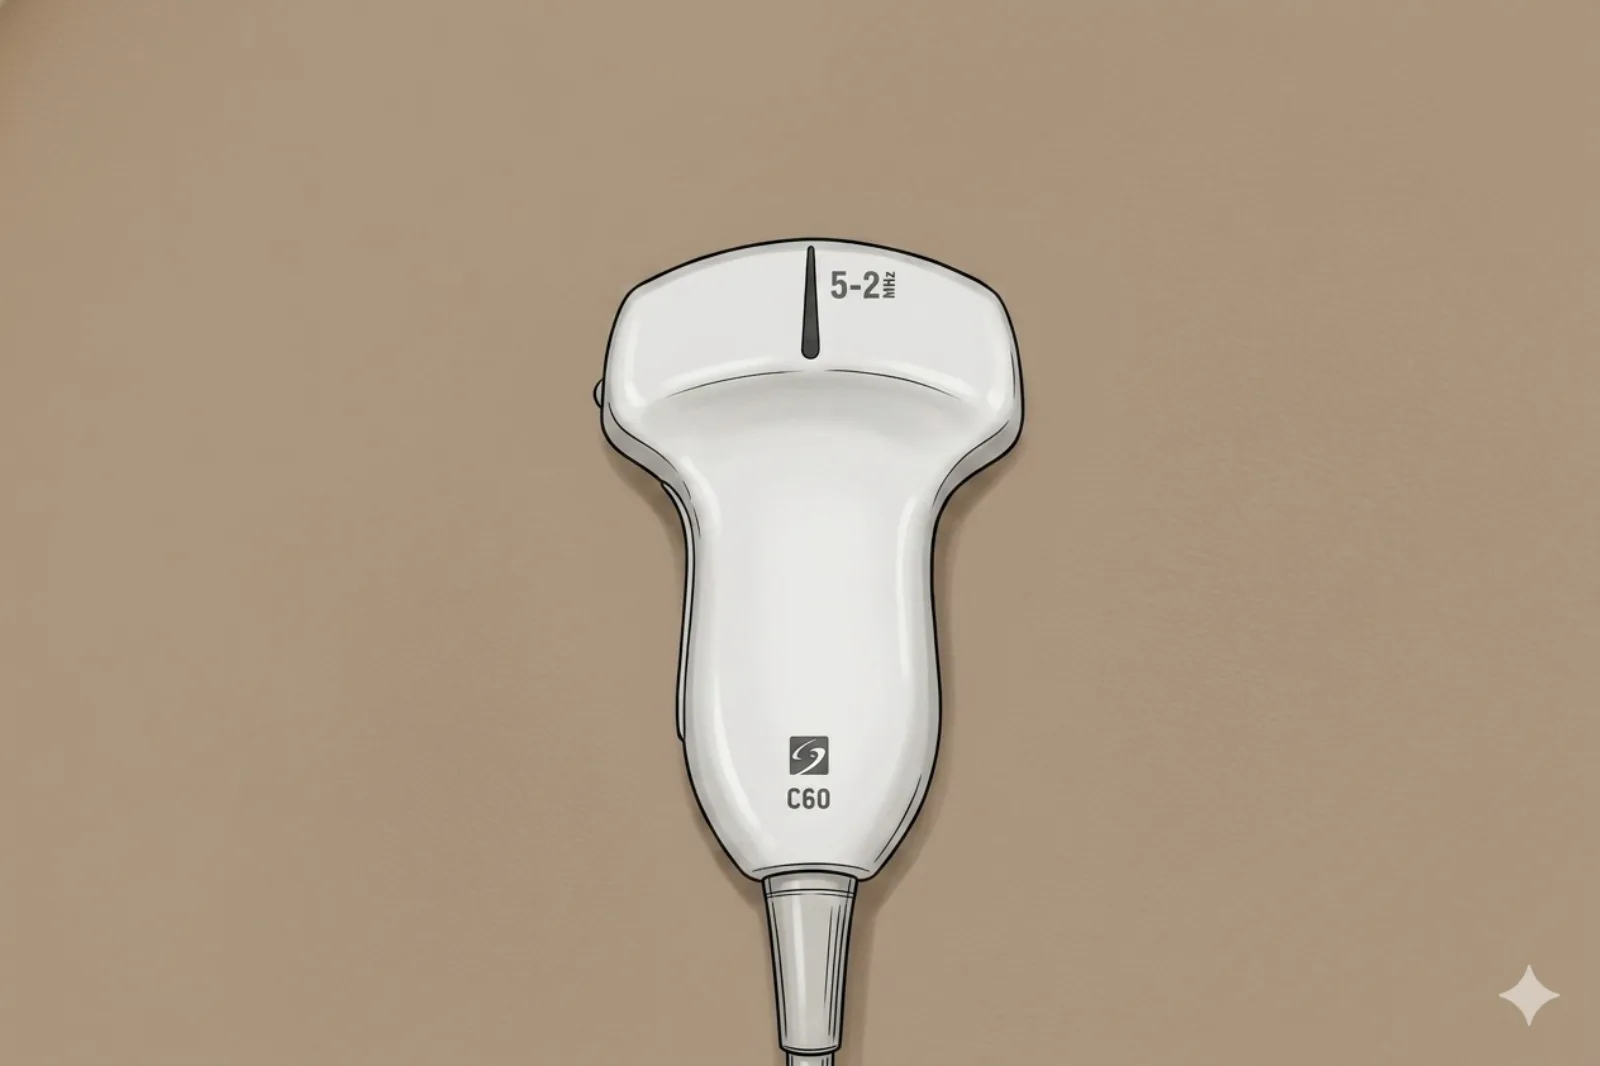
- Curvilinear 2-5 MHz; linear may suffice in thin patients
Landmarking — find the view
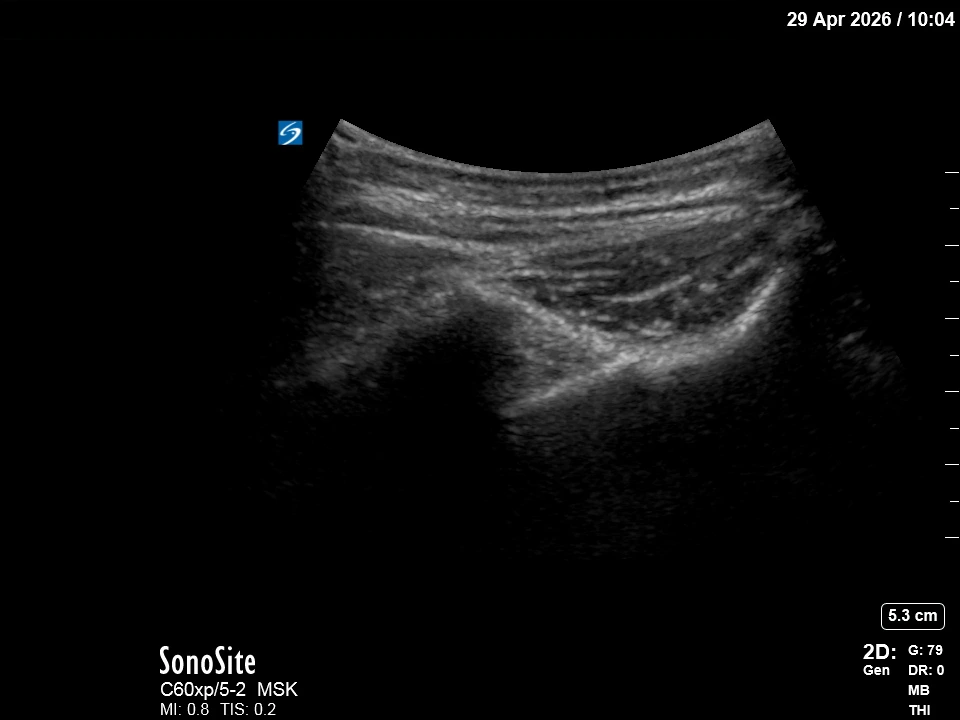
- Visual Cue: The 'Synovial Cleft' — Identify the sacroiliac gap in the inferior 1/3 of the joint.
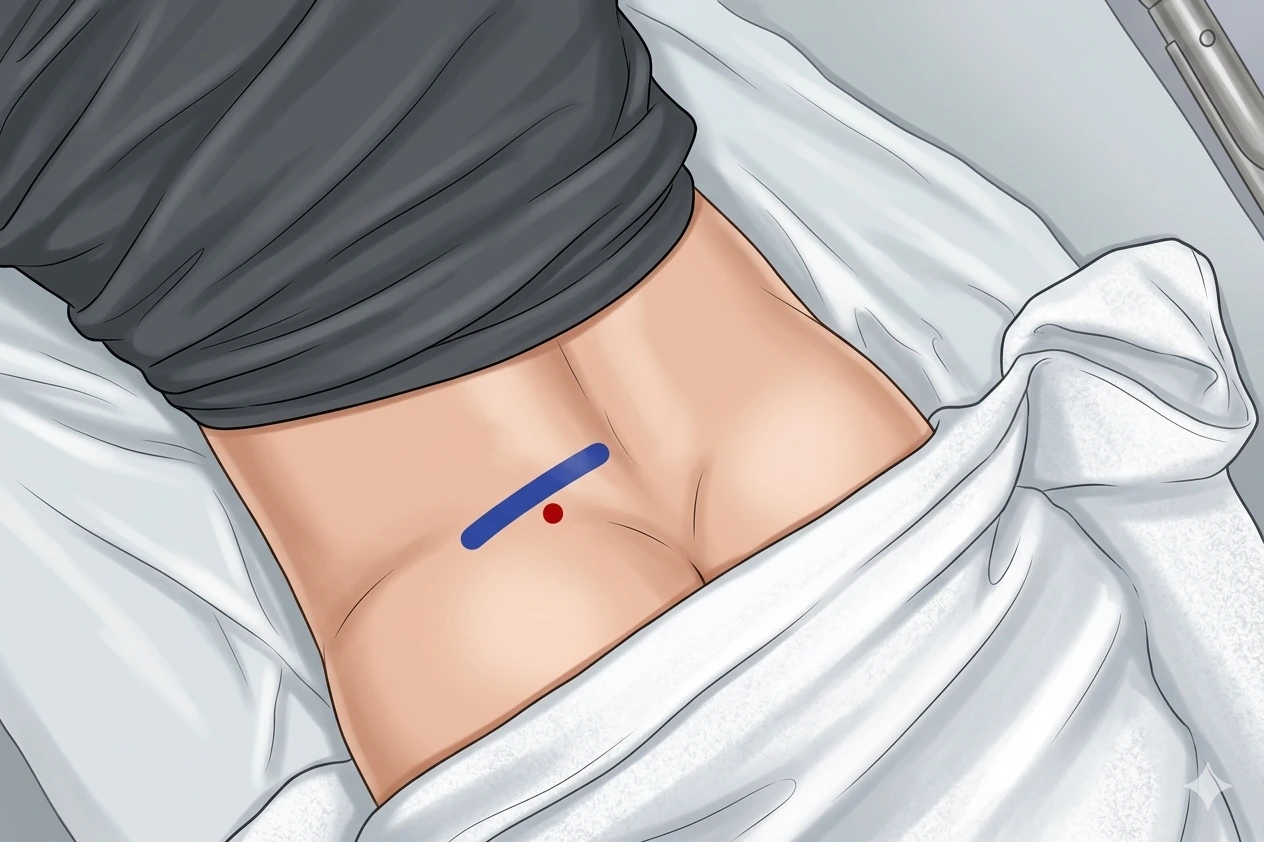
- Transverse over sacral hiatus → move laterally to sacral edge → follow cephalad ONLY to the inferior third (approx S2-S3) where the SI cleft becomes visible. Do NOT go higher — the upper two-thirds of the posterior SIJ is a ligamentous syndesmosis with no synovial space.
- Rock the probe to maximize the 'opening' of the posterior joint cleft.
- Identify the thick posterior sacroiliac ligaments overlying the cleft.
The correct ultrasound view
- Two bony lines (sacrum medial, ilium lateral) with posterior SI joint cleft between; posterior SI ligament complex superficial
Needle corridor
- In-plane lateral → medial through posterior SI ligament complex into synovial cleft (inferior third — S2-S3 level — most accessible)
Avoid
- S1–S4 sacral nerve roots (exit via posterior sacral foramina medially — intraforaminal injection delivers anesthetic/steroid directly onto a nerve root and can cause transient lower extremity weakness, sensory change, or bowel/bladder dysfunction). If the sacral cortex disappears from view on the medial side of the needle path, stop and re-scan — you may be over a foramen.
- Superior and middle cluneal nerves (posterior rami crossing the posterior iliac crest and sacral region — direct injection may cause persistent posterior hip/buttock pain)
- Superior gluteal artery/vein and gluteal nerve branches laterally
Steps
- 1Advance in-plane to joint cleft; test inject a small bolus for separation.
- 2Inject therapeutic volume (often ~1-2 mL) under real-time visualization.
- 3STOP IMMEDIATELY if the patient reports electric, shooting, or paresthetic sensations into the leg or pelvis.
Tips
- Success improves with experience; aim for inferior synovial region if cleft is narrowed in older adults.
- If color Doppler shows a vessel directly in the planned path, abandon and re-plan.
- Limit corticosteroid to ≤ 3 per joint per year.
Resident pearls
- Approach lateral-to-medial through the posterior SI ligament complex.
- The inferior synovial cleft (S2-S3 level) is the most reproducible entry point — the upper two-thirds is posterior syndesmosis only (no synovial target).
- Confirm positioning by visualizing the cleft opening during test bolus.
Supplies
- 5 mL Syringe
- 22G 3.5" (89 mm) spinal needle — standard for SI joint depth in most adults
- 18G Drawing Needle
- 1% Lidocaine (1-2 mL)
- Triamcinolone 40 mg OR Dexamethasone 4-10 mg
- Alcohol Swabs (vial tops)
- Betadine/Chloraprep
- Sterile Gloves
- Sterile 4x4 Gauze Pads
- Sterile Towels & Drapes
- Adhesive Bandage (Band-Aid)
- Washcloth/Towel (gel cleanup)
- Needle Disposal Safety Cap
- Sterile probe cover & gel
Post-procedure
- Apply a clean dressing; remove after 24 hours.
- Local anesthetic relief for 1-4 hours; steroid begins 24-72 hours.
- Steroid 'flare' in 2–10% — manage with ice and acetaminophen.
- Rest 24-48 hours; resume normal activity as tolerated thereafter.
- Return immediately for: spreading redness, swelling, fever, disproportionate pain, OR new leg weakness, foot drop, or numbness.
- Diabetics: expect 50-100 mg/dL glucose rise for 3-5 days.
- Maximum 3 injections per joint per year.